How to Stream on Twitch from Xbox: The Ultimate 2025 Beginner’s Guide
Streaming on Twitch has never been more accessible—especially if you’re gaming on an Xbox Series X, Series S, or even an Xbox One. Whether you’re looking to broadcast your intense Halo Infinite matches or build an audience around cozy indie titles, your Xbox is ready to help you go live with no capture card or PC required.
In this complete guide, you’ll learn how to stream on Twitch from your Xbox, set up everything you need (mic, webcam, overlays), and optimize your stream for quality and discoverability—right from your console.
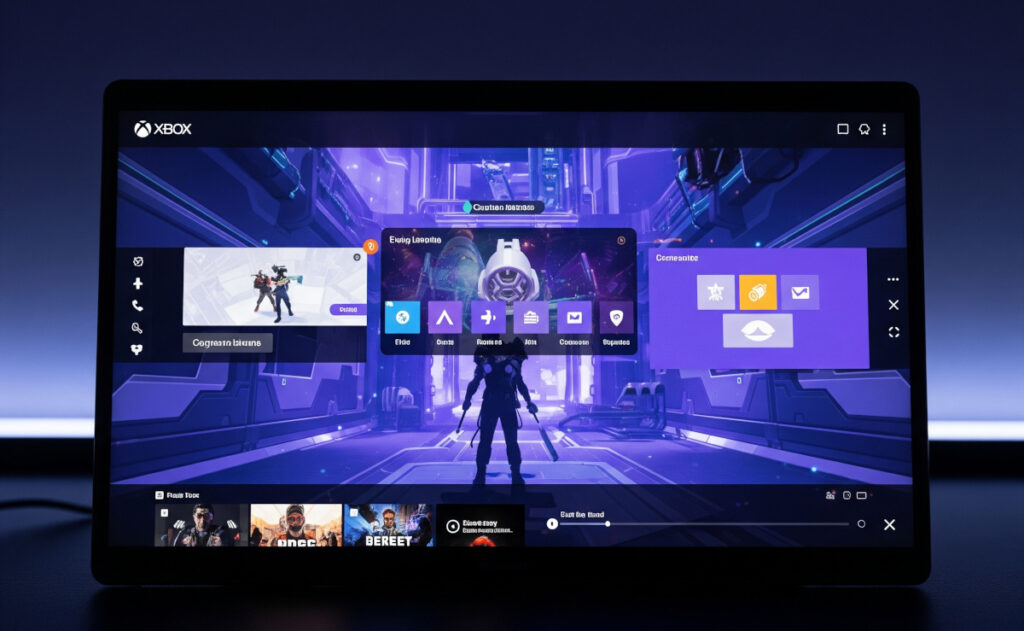
Why Stream from Xbox?
Before jumping into the setup, here’s what makes Xbox one of the easiest platforms to start Twitch streaming:
- Built-in Twitch app support
- No capture card or OBS required
- Plug-and-play support for headsets, webcams, and mics
- Direct integration with your Twitch account
- Stream any game you’re playing in real time
Let’s break it all down—step by step.
What You’ll Need to Stream on Twitch from Xbox
To get started, here’s what you need:
Essentials
- An Xbox Series X|S or Xbox One
- A Twitch account
- The Twitch app installed on your Xbox
- A solid internet connection (wired or strong Wi-Fi)
Optional but Recommended
- Headset or microphone (for game/chat audio)
- Webcam (compatible USB cameras like Logitech C920)
- External storage or SSD (to free up system performance while streaming)
Tip: You don’t need a PC, Elgato, or OBS to go live on Twitch from Xbox!
Step-by-Step: How to Stream on Twitch on Xbox
1. Create or Link Your Twitch Account
If you don’t have a Twitch account yet, create one on your phone or computer.
Next:
- On your Xbox, go to the Microsoft Store.
- Search and install the Twitch app.
- Open the app and click Sign In.
- On another device, go to twitch.tv/activate and enter the code shown on your Xbox.
Done! Your Xbox is now linked to your Twitch account.
2. Start Broadcasting from Your Xbox
With the app connected:
- Press the Xbox button to open the Guide.
- Navigate to Capture & Share > Live streaming.
- Select Twitch as your streaming platform.
- Customize:
- Stream title
- Mic & webcam settings
- Chat overlay and position
- Game selection (auto-detected when you launch it)
Once ready, hit “Go live now”.
That’s it—you’re streaming live on Twitch from Xbox!
3. Adjust Streaming Settings for Best Performance
Xbox allows basic customization for stream quality:
- Resolution: Choose 720p for low bandwidth, 1080p for crisp quality
- Bitrate: Auto, or manual (recommend ~3000–6000 Kbps for stable streams)
- FPS: 30 FPS is default; 60 FPS available on newer models with stable internet
Pro tip: Always test your stream using the “Preview Stream” option before going live.
Add Audio & Webcam for a Professional Touch
Microphone Setup
- Plug in a headset to your Xbox controller (3.5mm or wireless)
- Or use a USB microphone (compatible with Xbox)
Webcam Setup
Xbox supports a handful of USB webcams (like Logitech C922, C920, C930e). Simply:
- Plug your webcam into a USB port on your Xbox
- The Twitch app will automatically detect it
- Position the webcam overlay (top-left, top-right, etc.)
Want facecam + gameplay + chat overlay? The Xbox Twitch app now supports it all—no PC needed.
Customizing Overlays & Stream Appearance
While Xbox doesn’t support full OBS-like overlays, you can:
- Add stream title before going live
- Show or hide Twitch chat overlay on-screen
- Adjust camera position and size
For more advanced overlays, consider Lightstream, a cloud-based broadcasting tool that connects with Xbox Twitch streams to add overlays, alerts, and custom branding (no hardware needed).
Use Lightstream for Advanced Twitch Customization (Optional)
If you want custom overlays and alerts:
- Go to https://golightstream.com/xbox
- Log in with your Twitch account
- Build your stream (add overlays, alerts, transitions, etc.)
- In Twitch settings on Xbox, change your “Destination” to Lightstream
Now, Lightstream will act as a cloud OBS alternative—auto-layering your brand elements on top of your Xbox gameplay.
Tips to Grow on Twitch from Xbox
- Use a catchy, descriptive stream title
- Engage with your viewers through mic/chat
- Stream consistently, even 2–3 times a week
- Add a Twitch profile banner, panels, and schedule
- Share your Twitch link on Discord, Instagram, X (Twitter)
Related:
- How to Connect and Use an External Monitor with Your Steam Deck
- How to Stream Xbox Games to Your Steam Deck
- Play GOG Games on Steam Deck: A Step-by-Step Guide with Lutris
- How to Install & Play Amazon Luna on Steam Deck
- How to Play PlayStation 2 (PS2) Games on Your Steam Deck with PCSX2
- How to Stream PC Games to Steam Deck with Moonlight & Sunshine
Common Xbox Twitch Streaming FAQs
Can I stream on Xbox without a capture card?
Yes. You don’t need a capture card. Just use the Twitch app on your Xbox.
Can I stream from Xbox to Twitch in 1080p?
Yes, if you have a strong enough internet connection (upload speeds 6 Mbps+).
Does Xbox support webcams for Twitch?
Yes! Just plug in a supported USB webcam, and the Twitch app will recognize it.
Can I stream party chat on Xbox Twitch streams?
Yes, but ensure other party members have allowed their voices to be shared in settings.
Final Thoughts: Twitch Streaming from Xbox Is Simple & Powerful
If you’re just getting started with live streaming, Xbox makes it as easy as plug-and-play. With the official Twitch app, you can go live in minutes—with support for webcams, chat overlays, party audio, and more.
Add a personal touch with a headset or webcam, use Lightstream for polish, and keep engaging with your viewers.
Whether you’re gaming for fun, growing a community, or chasing affiliate goals, your Xbox has everything you need to start streaming to Twitch—no PC required.
# Written by Elliyas Ahmed

