Starting a blog is still one of the simplest ways to build a public skill, a professional footprint, and a long-term content asset. You do not need expensive hosting on day one. You need a free account, a clear niche idea, and a publishing habit.
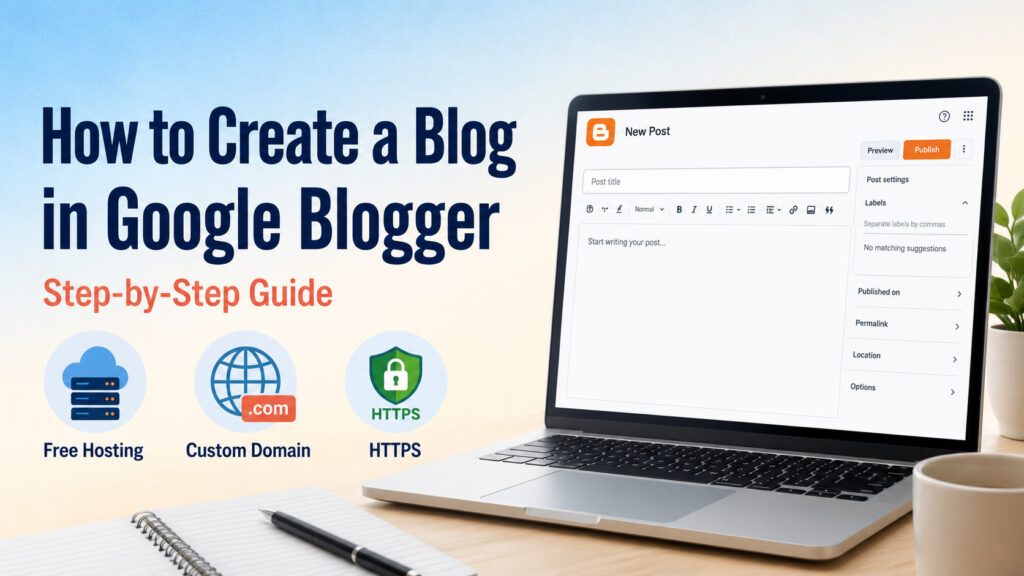
Google Blogger remains one of the easiest places to do that in 2026. It gives you free hosting, a free blogspot.com address, HTTPS, themes, and a clean editor under your Google account. This guide walks you through creating a blog on Blogger step by step, then covers the settings that make a new site look intentional instead of unfinished.
Why start a blog at all
Blogging works because it turns what you know into a searchable record. Clients, employers, classmates, and readers can find your thinking without waiting for you to pitch them. A living archive also sharpens writing, research, and digital skills every time you publish.
Personal brand. Consistent posts show how you explain ideas. That portfolio effect matters for freelancers, students, and specialists.
Business clarity. A company blog collects FAQs, case notes, and product education in one place customers can browse.
Career practice. Writers, designers, developers, and teachers use blogs as public practice grounds and lead magnets.
Income options later. Ads, affiliates, digital products, and sponsorships become realistic after you have useful traffic and trust. You do not need monetization on day one. You need useful posts.
If you want the student-focused angle, COMPROMATH’s guide to the benefits of blogging for students pairs well with this setup walkthrough. For a broader free-start overview, see how to create a free blog.
What Google Blogger gives you
Blogger is Google’s free blogging platform. It stores your posts, pages, images, and theme on Google’s infrastructure. New blogs receive a subdomain such as yourname.blogspot.com. Readers open that address in any browser and land on your home page.
You can later map a purchased custom domain so the public URL becomes something like yourbrand.com. That costs a yearly registrar fee, not a Blogger hosting fee. Free SSL is available for Blogspot addresses by default and for custom domains after you enable HTTPS in Settings.
Blogger is intentionally simple. That is the point for beginners. It also has limits around plugins, deep monetization tooling, and full ownership of the platform. Read the balanced view in advantages and disadvantages of Blogger before you invest months of content into one path.
Before you click create
Pick a niche you can sustain for at least twenty posts. Broad “lifestyle everything” blogs stall. Narrower topics such as budget travel for students, Laravel tips for juniors, or home-lab networking give you clearer titles and easier internal linking.
Choose a blog address you can live with. Short, readable, and free of odd numbers usually ages better. Your display name can be a personal name or a brand. Your first theme can be temporary. Content quality matters more than perfect design in week one.
Eight steps to create a blog on Blogger
1. Sign in with a Google account
If you do not have a Google account yet, create one with a phone number you can verify and recovery options you control. Use two-factor authentication. Your Blogger dashboard sits behind that same login.
Then open blogger.com and sign in. Accept any first-run prompts until you reach the option to create a new blog.
2. Choose your blog name and Blogspot address

Enter the public title readers will see in the header and browser tab. Click Next.

Now pick the Blogspot address. Blogger will tell you if the name is taken. Keep trying short alternatives until you see that the address is available. Avoid random character strings. A readable URL helps sharing and memory.

Confirm the display name that appears on posts and comments, then click Finish. Your blog now exists. The remaining steps polish it so the first visitors trust what they see.
3. Pick a modern Blogger theme
A theme controls layout, typography, background, and how gadgets sit on the page. Older classic templates still appear in the gallery. Prefer the newer Themes options for cleaner mobile layouts.
Contempo style themes are common defaults and work well for text-heavy blogs. Open Theme in the Blogger dashboard, preview a few modern options, then apply the one that fits your niche. You can change themes later, though heavy custom HTML work should be backed up first.

If you later want custom design work, COMPROMATH’s guides on creating a Blogger template and editing Blogger templates go deeper than the built-in gallery.
4. Customize colors and typography
Default themes look generic. Ten minutes in the customizer makes the blog feel like yours. Adjust accent colors, background, link color, and heading fonts so they stay readable on phones.

From Theme, open Customize. Use the Advanced section for finer control over fonts and colors. Preview on a narrow width if your browser allows it. Click the save control when the look feels consistent.

If a change looks wrong, reset that section to default rather than stacking random experiments. High-contrast body text beats fashionable low-contrast gray every time.
5. Add a custom domain when you are ready
A Blogspot address is enough to learn and publish. A custom domain is better when you want brand trust, cleaner sharing links, and a stronger AdSense or affiliate first impression. You can wait until you have a few solid posts. You should not wait forever if blogging is a serious goal.
Buy the domain from a reputable registrar. Namecheap is a practical choice many Blogger users still prefer for clear DNS controls and fair renewals. Google Domains as a standalone product is gone, so do not hunt for that old checkout flow. Any solid registrar works if you can edit DNS records.
After purchase, map the domain inside Blogger Settings, then finish the DNS records at the registrar. COMPROMATH’s walkthrough on connecting a Namecheap domain to Blogger covers the exact records. For a broader domain overview, see custom domains for Blogger.
6. Turn on HTTPS for custom domains
Blogspot subdomains already load over HTTPS. After you attach a custom domain, open Settings and enable both HTTPS availability and HTTPS redirect. Give Google a little time to provision the certificate. Reload the bare domain and the www version until both redirect cleanly to a secure address.

Do not leave mixed HTTP links in old posts after the switch. Update important internal links and menu URLs so everything points to the secure domain.
7. Finish basic Settings that help SEO and trust
Inside Settings, tighten the details visitors and search engines notice first.
Title and description. Make the title match your niche. Write a short description that states who the blog helps and what it covers.
Favicon. Upload a simple square icon so browser tabs look branded.
Meta tags and search preferences. Add a useful default meta description where Blogger allows it, and keep search indexing enabled for a public blog. COMPROMATH’s guides to meta tags on Blogger and Google Blogger SEO help you go beyond defaults.
Privacy and comments. Decide whether the blog is public, how comments are moderated, and whether adult content filters apply. Turn on moderation if spam is likely in your niche.
8. Publish your first real post
Create a post that solves one clear problem. Use a descriptive title, short intro, scannable subheadings, and original images or clear screenshots. Add labels that match your niche. Preview on mobile before you publish.
Then write an About page and a simple Contact or social proof page. New blogs with only one thin post look unfinished to readers and reviewers. Aim for a small cluster of useful articles before you chase monetization.
What to do in the first thirty days
Publish on a realistic schedule you can keep. Two strong posts a week beat seven thin ones. Share posts in communities where the topic already lives, without spamming. Submit the site in Google Search Console once the custom domain or Blogspot URL is stable.
Keep a simple content list of twenty future titles. Update older posts when you learn something better. That editing habit compounds faster than buying another theme.
When income becomes the goal, compare options carefully. AdSense, affiliates, and other networks each have policy and traffic thresholds. COMPROMATH’s pieces on Blogger versus WordPress for making money and monetizing Blogger without AdSense help you choose without rushing.
Blogger or WordPress for your next chapter
Stay on Blogger while free hosting, simplicity, and Google account security match your stage. Move to self-hosted WordPress later if you need plugins, memberships, advanced funnels, or fuller control of files and performance. That decision can wait until the archive is worth the extra cost and maintenance.
If you already know you want WordPress, start with a reputable paid host rather than fragile free WordPress hosting. Our budget WordPress blog guide and WordPress hosting for bloggers roundup cover that path. For now, finish the Blogger setup and publish.
You are ready to write
Creating the blog is the short part. Building trust is the long part. You now have a Google account connected to Blogger, a theme, HTTPS awareness, optional custom-domain steps, and the Settings that make a new site look serious.
Open the editor and ship the first useful post today. Tomorrow’s ranking problems are easier to solve when today’s draft already exists.
